Stem green beans
Grow your own healthy and tasty regular green beans and discover the unique texture and subtle taste of this special vegetable in your kitchen garden.
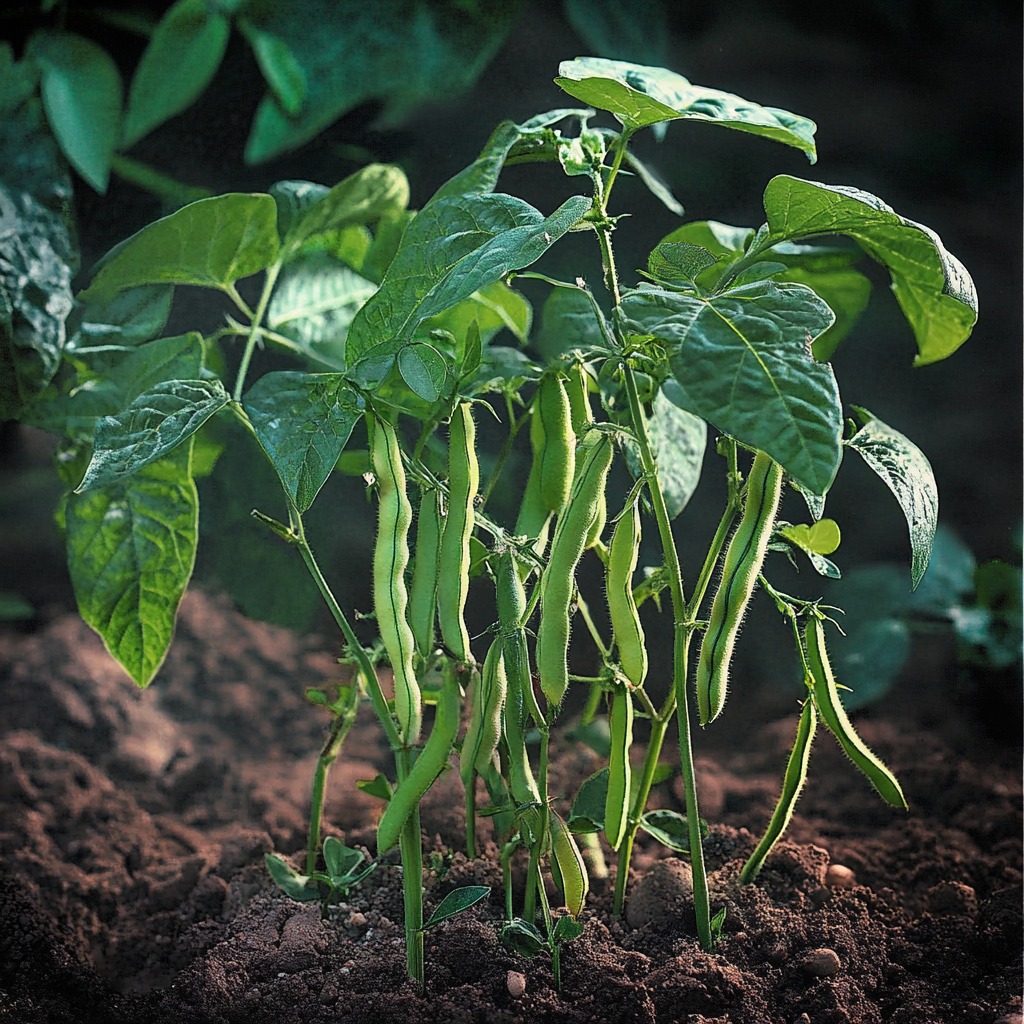
Standard green beans are an indispensable vegetable for every Dutch kitchen garden, thanks to their compact growth, rich yield and refined taste. They do not require stakes and therefore fit perfectly in small gardens or raised containers. With the right care, they provide tender beans full of flavour and nutrients for weeks. Discover how to sow, care for and harvest them successfully, so that you can enjoy fresh, crispy green beans from your own garden all summer long.
Preparation and cultivation
Soil preparation and location
Standard green beans grow best in airy, well-drained soil that is rich in organic matter. Dig the soil in the spring and mix in some compost or well-decomposed manure to improve the structure. Choose a sunny spot, because warmth promotes germination and growth. Avoid wet or cold soil, because beans germinate poorly in those areas. Crop rotation is important: do not plant stock green beans in a place where other legumes were planted last year to prevent soil-borne diseases.
Sow and propagate indoors or outdoors
Only sow regular green beans when the soil has warmed up sufficiently, usually in the open ground from mid-May. If you want to start earlier, you can pre-sow indoors or in a greenhouse in pots with sowing soil at the end of April. Keep the temperature around 18 degrees for fast germination. Plant the young plants outside as soon as there is no longer a chance of night frost. Give them a distance of about 40 centimeters between the rows so that the plants get enough air and light.
Care during growth
After the plants have emerged, regular watering is important, especially during dry periods. Water at the base of the plant to prevent mold from forming on the leaves. Keep the weeds low so that the young bean plants are not crowded out. A mulch of straw or compost helps retain moisture and keep soil temperatures stable. Check regularly for snails and aphids and remove affected leaves to keep growth healthy.
Planting and care
Plant out in open ground
When the young green bean plants are about ten centimeters high and the risk of night frost has passed, they can go outside. Choose a sunny, sheltered spot with well-drained soil. Plant the beans in rows about forty centimeters apart, leaving six centimeters between plants. Water generously immediately after planting so that the roots make good contact with the soil. A mulch layer of straw or compost helps to retain moisture and limit weed growth. This way the plants take root quickly and continue to grow vigorously.
Watering and feeding
Standard green beans like even moisture, especially during flowering and pod formation. It is better to water generously once a week rather than a little often, so that the roots grow deeply. Avoid wet leaves to prevent mold. A light fertilization with compost or an organic fertilizer mid-season supports growth without the plants forming too many leaves. Check regularly for dehydration in hot weather and provide extra water in dry periods for a consistent, healthy harvest.
Maintenance and support
Although regular green beans do not require stakes, they benefit from an airy position and weed-free soil. Keep the bed clean by weeding regularly and lightly loosening the soil. Remove damaged leaves to prevent disease and encourage new growth by picking regularly once the pods are mature but still tender. This extends the harvest period considerably. Keep an eye out for snails in the early growth stage and, if necessary, protect the plants with a natural barrier or snail pellets without chemicals.
Harvest and store
The right harvest time
Regular green beans are tastiest when the pods are still young and tender, usually about two to three weeks after flowering. Check regularly whether the beans are well filled but do not yet contain hard seeds. Pick them with two hands so as not to damage the plant and harvest every few days to stimulate growth. In the Dutch summer you can often harvest several times a week, especially in warm and humid weather. This way you keep the plants productive and the beans wonderfully tender.
Storing fresh beans
After picking, it is best to store regular green beans in a cool and dry place. They stay fresh in the vegetable drawer of the refrigerator for about three to five days. If necessary, wrap them in a slightly damp cloth to prevent them from drying out. Only wash the beans just before use so that they retain their firmness. For a longer shelf life, you can blanch them briefly and freeze them. This way you can enjoy the taste of your own harvest even in winter.
Dry and preserve for later
If you like to stock up, you can dry or preserve regular green beans. For drying, choose fully ripe pods, let them hang on the plant until they are yellow and papery, then shell the seeds. Store the dry beans in airtight jars in a cool, dark place. To preserve, blanch young beans briefly and store them in vinegar or brine. Both methods ensure that you can enjoy your home-grown beans months later.
Standard green bean seeds 'Prelude'
Early ripening and productive variety that performs excellently in the Dutch climate. The sturdy plants produce an abundance of straight, tender beans with a fine flavour. Suitable for cultivation in open ground or raised containers and ideal for both fresh consumption and freezing, with a reliable harvest even in changeable weather.
View productOrganic kitchen garden soil with compost
Airy, nutritious soil mix that ensures optimal root development and moisture regulation for standard green beans and other vegetable crops. Enriched with natural compost, humus and micro-organisms that improve soil structure and increase plant resilience. Ideal for use in kitchen garden containers or open ground in the Dutch climate.
View productDrip irrigation set for kitchen garden
Practical irrigation system that evenly waters stem green beans and other crops without wasting. The drip hose keeps the soil constantly moist, prevents it from drying out and reduces mold formation on leaves. Very suitable for dry summers or holiday periods, easy to connect to a rain barrel or outside tap.
View productRecipe inspiration

Green bean casserole
Make this easy green bean and mushroom casserole as a veggie side to accompany a main course. You could add cheese to the white sauce if you fancy
View recipe
Garlicky green beans
A simple saute of fresh beans with lightly fried garlic and a touch of olive oil makes a healthy, versatile side.
View recipe
'Marry me' chicken
Win someone over with this creamy chicken casserole. It's a great family meal served with mash, or new potatoes, and green beans
View recipe