Harvest and storage
Maximize the shelf life of your harvest
Learn how to properly harvest and store your crop for maximum shelf life and flavour. Start by choosing the right time to harvest, when the vegetables are ripe but still firm. Use a sharp knife or pruning shears to cut the vegetables from the plant without damaging them. Be sure to move the vegetables into a shaded, cool area immediately after harvesting to maintain freshness. For storage, use breathable containers such as wooden boxes or plastic bins with ventilation holes to prevent moisture build-up.
Soil preparation and sowing
Plan your harvest
Good planning prevents you from harvesting too early or too late, which can affect the taste and shelf life of your products. Keep a close eye on the growth of your crops and note down the ideal harvest times. Use a garden log to track each plant's progress. Note the colour, size and firmness of the vegetables as indicators of ripeness. By regularly inspecting your garden, you can better estimate the optimal harvest time and prevent vegetables from becoming overripe.
Read moreMaintenance
Harvest carefully
Make sure you exercise care when harvesting. Use the right techniques and tools to avoid damaging the vegetables so they stay fresh longer. Cut vegetables such as tomatoes and peppers with a sharp knife to avoid bruising. For root crops such as carrots and beets, use a garden fork to gently lift them out of the ground without breaking them. Avoid pulling or tugging on the plants as this can lead to damaged produce that will spoil more quickly.
Read moreHarvesting, storage and final tip
Keep cool
After harvest, proper storage is essential to maintain freshness and flavour. Provide a cool storage space and preferably use containers that protect the products against temperature fluctuations. Store vegetables such as potatoes and onions in a dark, well-ventilated area to prevent sprouts and mold. For leafy vegetables such as lettuce, use damp cloths or plastic bags with small holes to prevent drying. Regularly check your stored products for signs of deterioration and remove affected items to prevent spread.
Read moreDutch practice: Harvest and storage
Monthly planning for Dutch conditions
Plan harvest and storage based on Dutch seasons and not on general international schedules. In most regions, soil development starts from February or March, with planting out after the last chance of night frost around mid-May. In coastal areas, the soil often warms up later due to wind, while sandy soils warm up faster than clay. Work with a fixed weekly check per month: soil temperature, precipitation, disease pressure and growth rate. This way you steer based on the real Dutch weather instead of just a calendar date.
Soil choice in the Netherlands: clay, sand and peat
Soil management in the Netherlands is decisive for harvest and storage. On clay, structural improvement with compost and mulch helps to prevent silting. In sandy soils, moisture retention is the priority with organic matter and gentle, deeper watering. On peat soil you pay extra attention to nutritional deficiencies and a stable pH. Choose one approach per bed and evaluate it after each rainy period, because Dutch showers can cause a lot of leaching or waterlogging in a short time. By making soil choices explicit, the chance of success visibly increases.
Limiting weather risks in practice
In the Netherlands, prolonged rain, sudden temperature changes and snail pressure are the most common risks. Therefore, work preventively: sufficient plant distance for air circulation, water at the base instead of over the leaves, and a quick inspection round after wet days. When in doubt, stick to a simple decision rule: first drainage and air, then nutrition, and only then action against pests. This prevents overcorrection and makes harvest and storage more consistent throughout the season, even in changeable years.
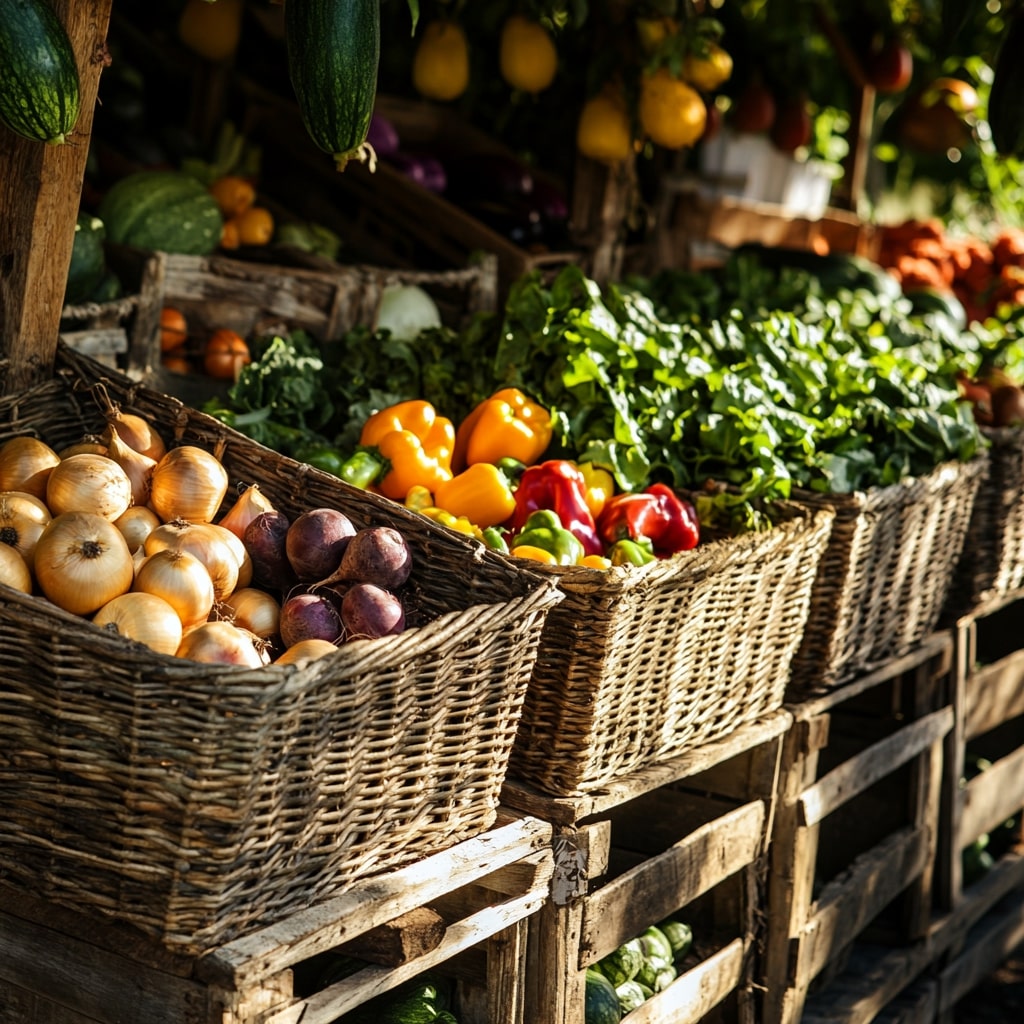
Harvest containers
Containers for safely storing your harvest. Choose containers large enough to hold your products without pressure. Wooden boxes are ideal for potatoes and onions, while plastic containers with ventilation holes are suitable for vegetables that need some air circulation. Make sure the containers are clean and dry before placing your harvest in them to prevent mold and bacterial growth.
View productCold storage systems
Systems for optimal storage of your products. Consider using racks or shelves in your storage space to improve air circulation and reduce the risk of spoilage. Install a thermometer to monitor the temperature and ensure it remains constant. Use humidity controllers to maintain proper humidity, especially for vegetables that are prone to drying out or mold. Regularly checking and maintaining your storage area can help keep your harvest fresh and tasty for longer.
View product