Soil preparation
Prepare your soil optimally
Discover essential tips for preparing the soil in your kitchen garden for optimal plant growth.
Soil preparation and sowing
Test the pH value
An accurate pH test helps you determine the ideal acidity of your soil, which is crucial for optimal nutrient uptake by your plants. By measuring the pH, you can make targeted adjustments with lime or organic acids to improve growing conditions.
Read moreAdd organic material
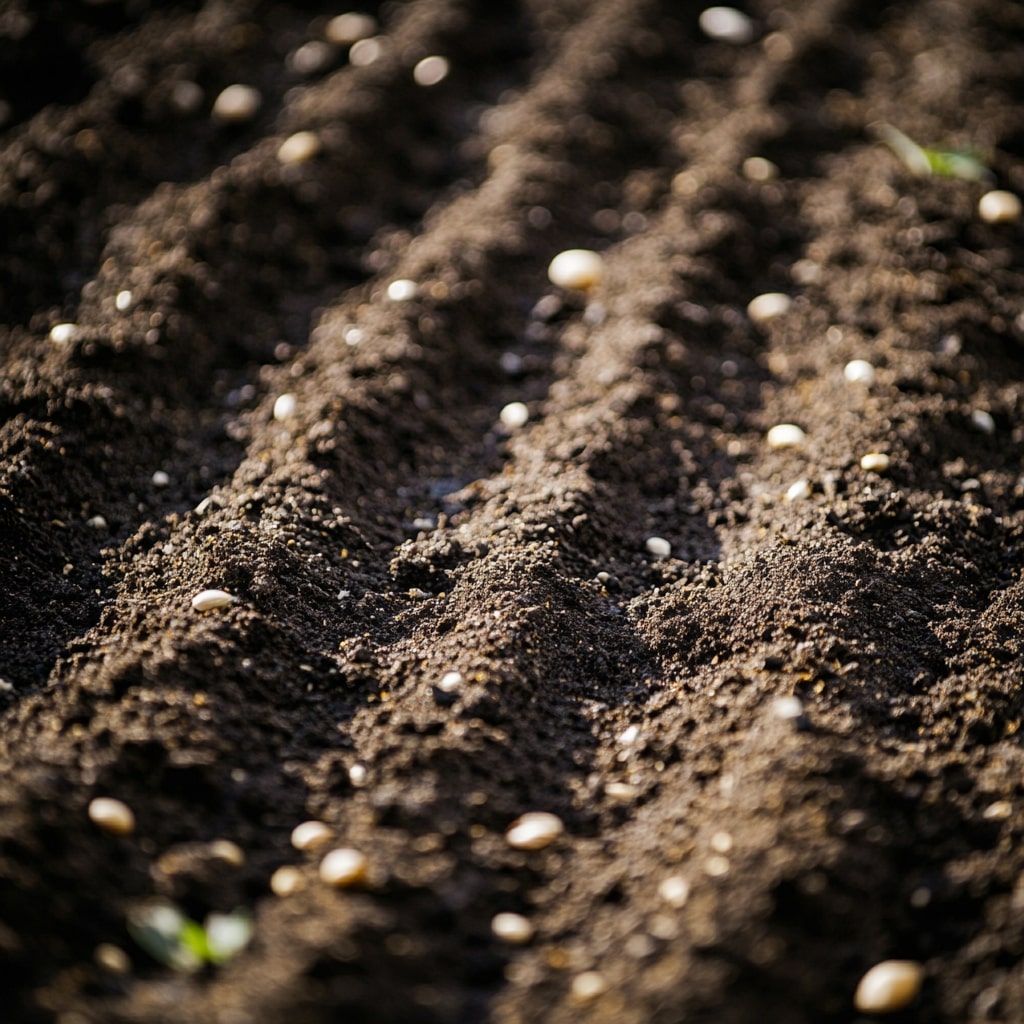
Adding organic matter such as compost or well-decomposed fertilizers improves the structure and water retention of your soil. This encourages the growth of microorganisms essential for breaking down organic matter and releasing nutrients, resulting in a lush and productive kitchen garden.
Read moreMaintenance
Make sure the ground is flat
An even soil ensures that water and nutrients are evenly distributed. Removing bumps and clods helps with better root development and reduces the chance of stagnant waterholes, which can be harmful to the roots of your crops.
Read moreKeep the soil moist
Regular, but not excessive, watering keeps the soil at the ideal moisture level. This promotes the activity of soil organisms and ensures a constant availability of nutrients for your plants, which is especially essential during hot summer days.
Read moreHarvesting, storage and final tip
Check the drainage
Good drainage prevents waterlogging and root rot. Check that the soil is well-drained and consider adding gravel or raising the beds if necessary. This ensures that excess water is drained quickly and your plants are not in a waterlogged environment.
Read moreDutch practice: Soil preparation
Monthly planning for Dutch conditions
Plan Soil Preparation based on Dutch seasons and not on general international schedules. In most regions, soil development starts from February or March, with planting out after the last chance of night frost around mid-May. In coastal areas, the soil often warms up later due to wind, while sandy soils warm up faster than clay. Work with a fixed weekly check per month: soil temperature, precipitation, disease pressure and growth rate. This way you steer based on the real Dutch weather instead of just a calendar date.
Soil choice in the Netherlands: clay, sand and peat
Soil management in the Netherlands is decisive for soil preparation. On clay, structural improvement with compost and mulch helps to prevent silting. In sandy soils, moisture retention is the priority with organic matter and gentle, deeper watering. On peat soil you pay extra attention to nutritional deficiencies and a stable pH. Choose one approach per bed and evaluate it after each rainy period, because Dutch showers can cause a lot of leaching or waterlogging in a short time. By making soil choices explicit, the chance of success visibly increases.
Limiting weather risks in practice
In the Netherlands, prolonged rain, sudden temperature changes and snail pressure are the most common risks. Therefore, work preventively: sufficient plant distance for air circulation, water at the base instead of over the leaves, and a quick inspection round after wet days. When in doubt, stick to a simple decision rule: first drainage and air, then nutrition, and only then action against pests. This prevents overcorrection and makes soil preparation more consistent throughout the season, even in changeable years.