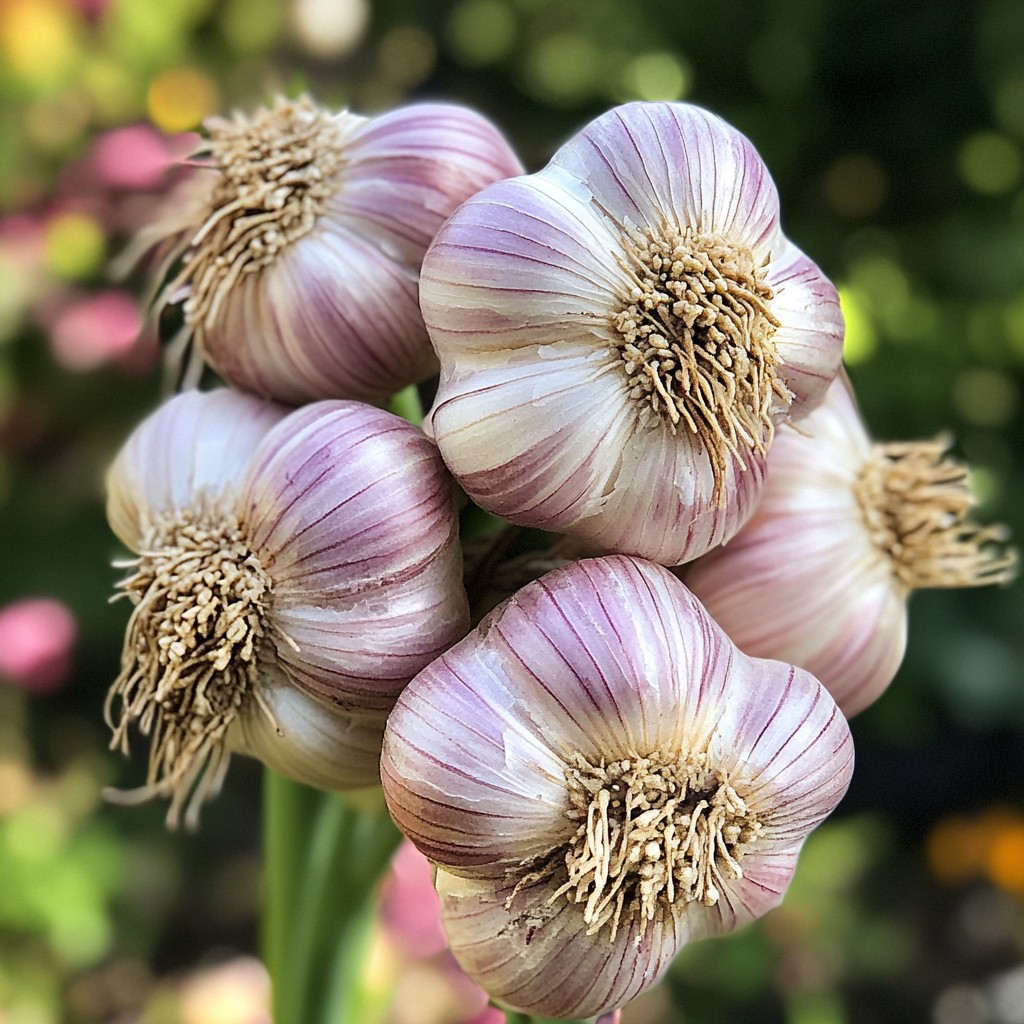
Garlic
Learn how to grow sturdy garlic with the right cultivation and care techniques for extra flavour in your dishes.
Growing garlic in the Netherlands is easier than many gardeners think; With the right soil, enough sun and a little patience, you can harvest sturdy, fragrant bulbs that will enrich any dish. In this article you will learn when to plant, how to prepare the soil and how to care for the garlic until harvest, so that you can enjoy your own tasty cultivation all year round.
Preparation and cultivation
Soil preparation for strong bulbs
Start with well-drained, loose soil that is rich in organic matter. In the autumn, work compost or well-decomposed manure into the top layer so that the garlic cloves end up in a light, nutritious soil. Avoid wet areas, because garlic cannot tolerate prolonged humidity. A pH between 6 and 7 is ideal. Make the soil flat and crumbly so that the cloves can take root easily and the bulbs can form properly during the growing season.
Choosing the right planting time
In the Netherlands, you usually plant garlic in October or November, so that the cloves can take root before the winter. Winter garlic needs the cold period to form firm bulbs. You can plant spring varieties in the spring, but they often produce smaller bulbs. Always plant healthy, sturdy toes with the point up and keep sufficient distance between the rows. This way you give each plant space to develop and prevent fungal problems.
Rearing and early care
After planting, it is important to keep the soil slightly moist, especially in dry weather in early spring. As soon as the first shoots appear, you can apply a thin layer of mulch to retain moisture and suppress weeds. Check regularly for snails and remove weeds carefully so as not to damage the young plants. Feed lightly with compost tea or organic fertilizer in March or April to stimulate growth without burning the roots.
Planting and care
Plant garlic in open ground
Plant the cloves in well-drained, loose soil as soon as the risk of hard frost has passed, usually in March or October. Press each clove with the point up about five centimeters deep and keep a distance of ten centimeters between the plants. After planting, water thoroughly so that the soil closes well around the toes. A sunny spot promotes bulb formation and prevents fungal problems. If necessary, cover the soil with a thin layer of straw to retain moisture and limit weed growth.
Care during growth
Garlic requires little maintenance, but regular inspection pays off. Keep the soil slightly moist, especially during dry periods, and remove weeds that can smother the young plants. Add a little organic fertilizer or compost in the spring to stimulate growth. Avoid excessive watering as wet feet cause rot. Check for aphids or mold and remove affected leaves immediately. By keeping the soil loose around the plants, the bulbs get enough air and develop evenly.
Leaf formation and preparation for harvest
When the garlic plants form sturdy leaves, you can cut away the flower stems to send the energy to the bulbs. Stop watering as soon as the lower leaves begin to yellow, usually in June or July. This helps the bulbs dry and prevents cracking. Carefully pull the plants out of the ground and let them dry for several weeks in an airy, shady spot. Store well-dried bulbs in a cool and dry place, so you can enjoy your own garlic for months.
Harvest and store
When to harvest garlic
Garlic is ready to harvest when the lower leaves begin to yellow and the upper leaves are still green. In the Netherlands this usually falls between the end of June and mid-July, depending on the planting time and the weather. Carefully pull the bulbs out of the ground with a fork or hand fork, so that the toes are not damaged. Leave the soil on the bulbs and place them in a dry, airy place to dry. This way they retain their taste and have a longer shelf life.
Dry and cure garlic
After harvesting, proper drying is essential for a long storage life. Hang the bulbs with foliage in bunches in a warm, ventilated place, for example under a roof or in the attic. Let them hang there for two to three weeks until the stems are completely dry and brittle. Then cut the foliage and remove excess soil. The outer shell protects the toes from moisture, so leave it intact. Properly cured garlic remains firm and aromatic for months.
Storing and using garlic
Store garlic in a cool, dry and dark place, for example in a perforated basket or mesh bag. Avoid the refrigerator, because the garlic can sprout or mold there. Check regularly for soft bulbs and use those first. For extra convenience, you can also peel and freeze the cloves or store them in oil, provided they are properly sealed. This way you always have a supply of tasty garlic at hand for all your dishes.
Organic garlic cloves
Use certified organic seed garlic cloves for a healthy start to your cultivation; they are free from diseases, well adapted to the Dutch climate and produce firm bulbs with a full flavour. By choosing quality material you increase the chance of a rich harvest and a long storage life for your garlic.
View productAiry kitchen garden soil with compost
An airy, well-drained kitchen garden soil with compost offers the right balance between nutrition and structure. This soil prevents waterlogging, stimulates root growth and ensures that garlic plants remain strong and healthy, even during changing weather conditions in the Netherlands. Ideal for raised containers or open ground cultivation.
View productPlant label set weatherproof
With a durable, weather-resistant plant label set you can keep an overview of different garlic varieties, planting dates and cultivation locations. The labels remain readable in rain and sun, making it easy to track which varieties perform best in your garden and plan better each season.
View productRecipe inspiration

Creamy garlic pasta
This creamy tagliatelle recipe makes a comforting midweek meal. Any long pasta will work, so use whatever you have in the cupboard
View recipe
Pasta & purple sprouting broccoli with anchovies, garlic & preserved lemon
Love anchovies? This pasta dish is for you – the salty flavour works well with iron-rich purple sprouting broccoli, and is lifted by the zing of lemon
View recipe
Creamy lemon & cabbage pasta with garlic crumbs
Throwing together store cupboard staples with pasta can make a surprisingly luxurious supper
View recipe