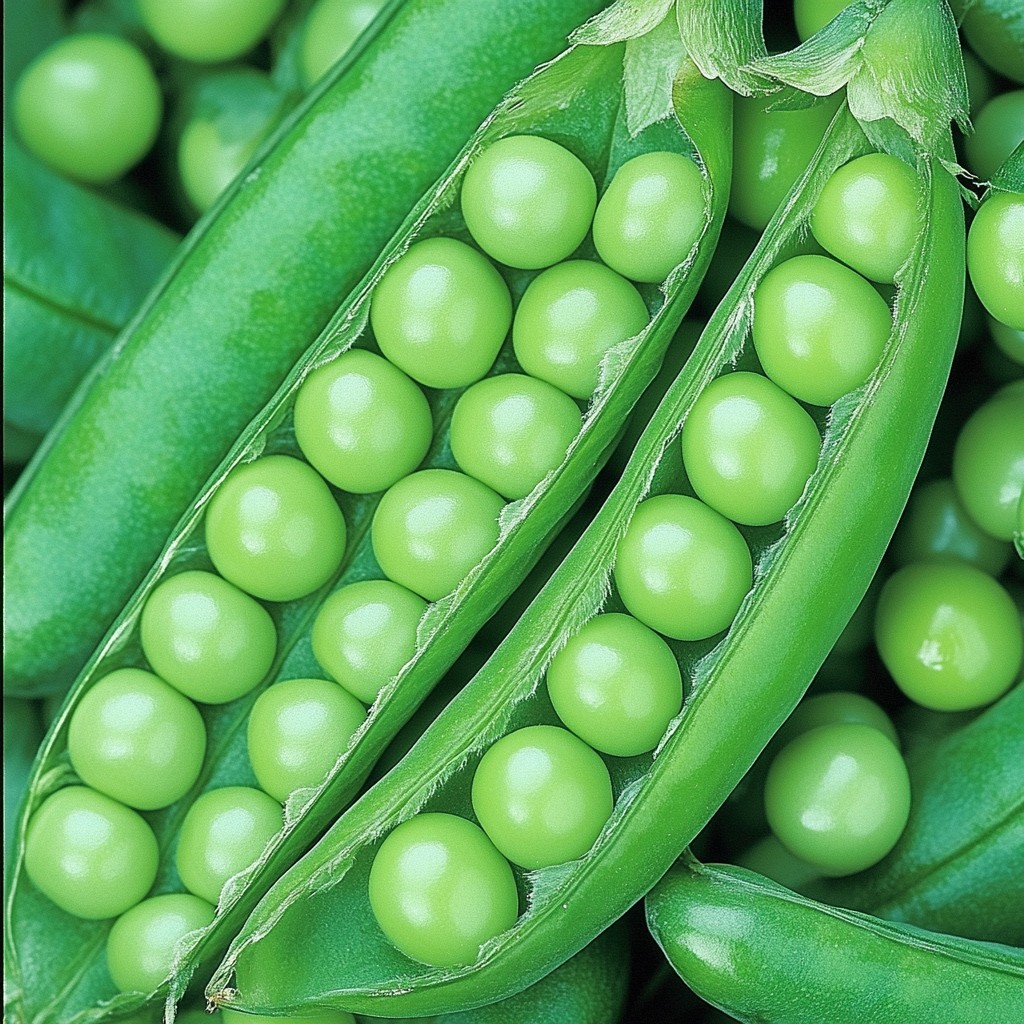
Peas
Learn how to grow sweet peas for a bountiful harvest with proper seeding and care techniques.
With the right sowing and care techniques you can grow delicious sweet peas in the Dutch climate that are perfect for soups, salads and summer dishes; discover how to keep plants healthy, extend harvests, prevent pests, keep the soil nutrient-dense and enjoy an abundance of fresh, crunchy pods from your own garden that are both tasty and nutritious for the whole family.
Preparation and cultivation
Soil preparation for strong plants
Start with a light, well-drained soil that is rich in organic matter. In autumn or early spring, dig compost or well-decomposed manure into the top layer to improve the structure. Peas like a neutral to slightly calcareous soil, so sprinkle some lime if the soil is acidic. Make sure the spot is sunny and sheltered from strong winds. Good preparation prevents waterlogging and promotes even growth of the young plants.
Sow at the right time
Sow peas in the Netherlands from the end of February to the beginning of April, as soon as the ground is no longer too wet or frozen. Use firm seeds and, if necessary, soak them in lukewarm water for a few hours to speed up germination. Sow in rows with about two inches between seeds and three inches deep. Leave thirty to forty centimeters of space between the rows. Cover lightly with soil and press gently. Protect young seedlings from birds with fine mesh or twigs.
Rearing and early care
When the seedlings emerge, give them plenty of light and air circulation to prevent mold. Keep the soil moist but not soggy, especially during dry spells. For taller varieties, place stakes or mesh in time so that the plants can attach themselves. Remove weeds regularly to avoid competition and mulch with straw or compost to retain moisture. Check for snails and lice and intervene early with environmentally friendly means. This way you develop strong, healthy plants that bloom profusely.
Planting and care
Plant out in open ground
When the young pea plants are about ten centimeters high and the risk of night frost has passed, they can go outside. Choose a sunny spot with airy, moist soil and plant them in rows with enough space between them for air circulation. Press the soil lightly around the roots and water immediately. If necessary, place a net or mesh to deter birds. By gradually allowing the plants to get used to outdoors, you prevent growth stress and promote a solid start in the open ground.
Support and guide growth
Peas need support to grow upright and bloom well. Therefore, when planting out, place sticks, mesh or a climbing frame so that the tendrils can attach themselves. Check regularly whether the plants are properly guided and tie them carefully if necessary. Keep the soil moist but not soggy and remove weeds that compete for nutrients. A mulch layer helps to retain moisture and keep the soil temperature stable during changeable Dutch weather.
Care during the growing season
Continue to check the peas weekly for dehydration, especially in hot and windy weather. Water at the base of the plants to prevent mold and remove yellowed leaves to promote air circulation. Once the first pods appear, you can pick regularly to stimulate flowering. After harvesting, you can leave the root remains, because they enrich the soil with nitrogen. This way you immediately prepare the soil for the next cultivation of other vegetables.
Harvest and store
Determine the right harvest time
Peas are at their sweetest when the pods feel firm but have not yet dried out. Check the plants regularly as the pods begin to fill. In dry weather, pick in the morning, when the sugars are highest. Use two hands to gently pull off the pods so as not to damage the tendrils. By harvesting regularly you stimulate the plant to form new pods, which increases the total yield and maintains the quality of the peas.
Extend harvest and maintain quality
To extend the harvest period, you can continue to pick the plants as long as they are healthy and the temperature does not rise too high. Provide sufficient water during dry periods and remove yellowed leaves to prevent mold. Store harvested pods cool and dry, preferably in a perforated container or basket. Avoid direct sunlight after picking, as this accelerates drying. By harvesting consistently and taking good care of them, you can enjoy fresh, crispy peas from your own garden for weeks.
Storing and freezing peas
Fresh peas keep well in the refrigerator for several days, but freezing is ideal for longer storage. Shell the peas, blanch them briefly in boiling water and cool them immediately in ice water to retain the colour and flavour. Drain them well and freeze them in portions. This way you can also enjoy your summer harvest in winter. Dried peas are an alternative: let them ripen completely on the plant, shell them and store them airtight in a cool, dark place.
Pea seed 'Sugar Snap'
This sweet and crunchy pea variety is ideal for the Dutch climate and produces a rich harvest of juicy, tender pods. Sow in early spring in well-drained, slightly moist soil and water regularly. The plants grow vigorously and are ideal for fresh consumption in salads, stir-fries or to eat straight from the pod.
View productClimbing frame or mesh net for peas
A sturdy climbing frame or fine mesh net supports the growth of pea plants and prevents stems from snapping or pods from lying on the ground. Place the rack immediately when sowing or planting out so that the vines can attach properly. This promotes air circulation, keeps the plants clean and makes harvesting easier.
View productOrganic kitchen garden fertilizer for legumes
A mild, low-nitrogen organic fertilizer specially developed for legumes ensures healthy growth and a balanced yield. Apply the fertilizer when preparing the soil and repeat mid-season for a long-lasting harvest. The natural composition stimulates soil life and improves the structure of the earth.
View productRecipe inspiration

Herby broccoli & pea soup
Our vibrant broccoli and pea soup delivers three of your 5-a-day, and is full of nutrients including iron, folate and vitamin C
View recipe
Broccoli & pea soup with minty ricotta
Make this broccoli and pea soup for lunch or to serve as a starter, and top it with minty ricotta and pine nuts. A healthy dish, it delivers three of your five-a-day
View recipe