Kale
Learn how to grow kale successfully with proper seeding and care techniques so you can enjoy nutritious green leaves in the winter.
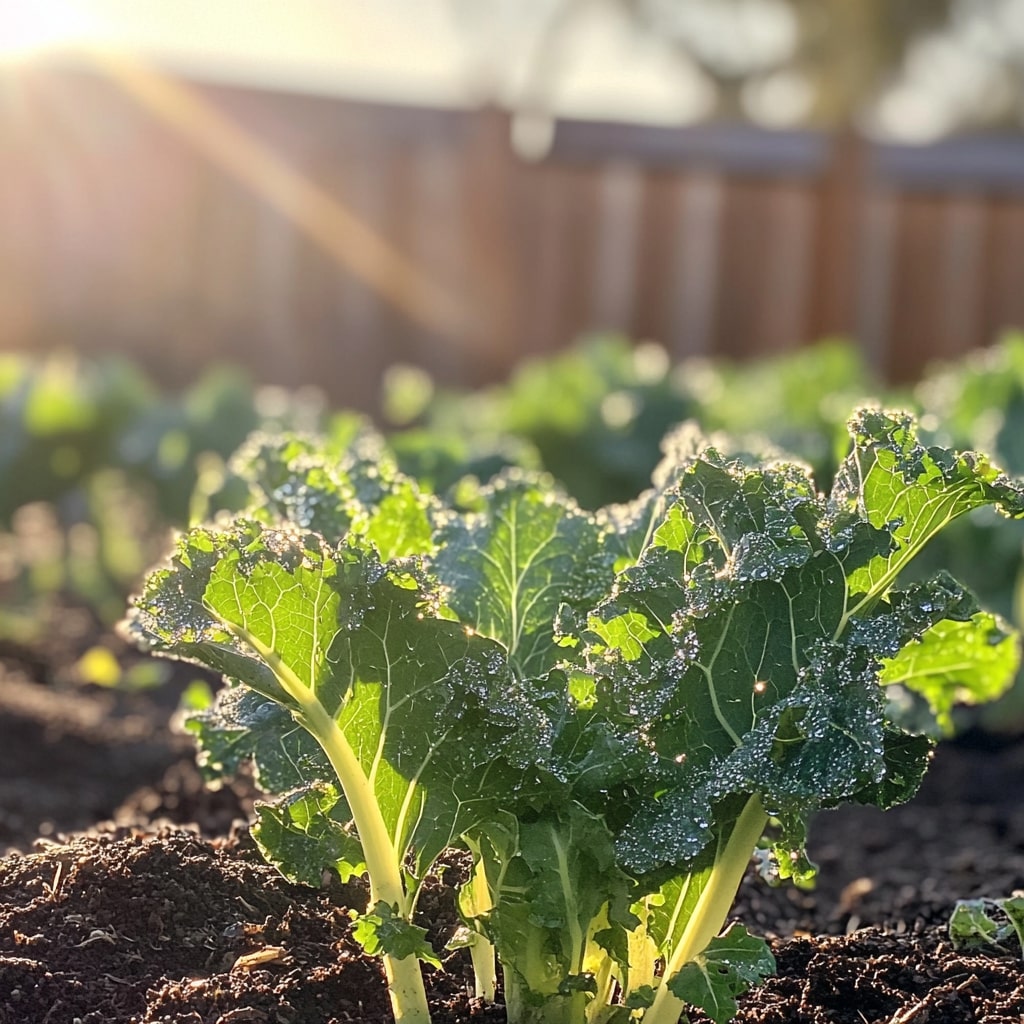
Kale is a traditional Dutch winter vegetable that grows excellently in the cool, humid climate of the Netherlands. By sowing on time, fertilizing the soil well and weeding regularly, you will develop sturdy plants with fresh green leaves. After a few cold nights the taste becomes milder and sweeter, ideal for stews or stir-fries. With a little attention and planning, you can enjoy a healthy, winter-hardy harvest for months.
Preparation and cultivation
Sowing and soil preparation
Sow kale directly in the open ground or in a seed tray from mid-May to the end of June. Choose a sunny spot with nutritious, well-drained clay or loam soil. Work compost or well-decomposed manure into the top layer in advance to make the soil airy and rich in nutrients. Keep the soil moist but not wet so that the seeds can germinate evenly. After emergence, thin out the seedlings into sturdy plants with sufficient space to grow.
Prick out and harden off
When the young plants have four to six leaves, you can transplant them to separate pots or plant them out immediately. Give them a few days to get used to outdoor conditions by putting them outside during the day and bringing them in at night. This hardening off prevents growth stress and makes the plants stronger against wind and temperature fluctuations. Make sure the root ball remains moist and only plant out on cloudy days or in the evening to avoid burning.
Planting out and early care
Plant the kale at a distance of about 50 centimeters, so that each plant receives sufficient light and air. Press the soil firmly around the roots and water immediately. In the first weeks, regular weeding is important to avoid competition with weeds. A mulch of straw or compost helps retain moisture and keeps soil temperatures stable. Check for snails and caterpillars and remove them manually to limit damage to young leaves.
Planting and care
Plant out in open ground
Place the young kale plants outside in June or July as soon as they are sturdy enough and the risk of night frost has passed. Choose a sunny spot with nutritious, well-drained soil. Plant them about 50 centimeters apart so that the leaves have enough space to grow. Press the soil well around the roots and water immediately. A mulch of straw or compost helps retain moisture and limits weed growth, which promotes the plants' starts.
Care during growth
Keep the soil moist but not soggy, especially during dry periods. Water regularly at the base of the plant to prevent mold on the leaves. Remove weeds in a timely manner so that the kale does not have to compete for nutrients. Check for caterpillars and aphids weekly and remove them by hand or rinse with water. Light fertilization in mid-summer stimulates new leaf growth and keeps the plants vital.
Protection and maintenance in autumn
When the days get shorter and temperatures drop, kale becomes stronger and more flavorful. Protect the plants from strong winds with a low edge or net and remove damaged leaves to prevent mold. Feel free to leave the plants outside, because light frost improves the taste. Check for snails regularly and remove them manually. By keeping the soil loose and removing fallen leaves, the crop remains healthy well into the winter.
Harvest and store
When to harvest kale
Kale is ready to harvest when the leaves are firm and dark green, usually from November to February. Preferably wait until after a few night frosts, because the cold makes the taste softer and sweeter. Harvest from the bottom up by cutting off the outer leaves so that the plant can continue to grow. Use a sharp knife and avoid damaging the trunk. This way you can pick fresh kale several times a season without the plant becoming exhausted.
Store kale and keep it fresh
After harvesting, kale can be stored in the refrigerator for several days, wrapped in a damp cloth or in an open plastic bag. Freezing is ideal for longer storage: blanch the leaves briefly in boiling water, cool them quickly and freeze them in portions. This way the vegetable retains its colour, taste and nutritional value. You can also dry or ferment kale for a different taste experience. Always store in a cool, dark place to prevent spoilage.
Tips for a longer harvest period
To enjoy kale for longer, you can protect the plants in winter with fleece cloth or a low tunnel. This prevents frost damage in severe cold and keeps the leaves tender. Harvest regularly, but always leave the heart of the plant intact so that new leaves continue to grow. In mild winters you can cut fresh kale until March. By cleverly spreading different varieties and planting times you can significantly extend the harvest period.
Kale seeds for open ground
Choose a reliable variety of kale seeds that can withstand cold, moisture and changing temperatures, so that you get sturdy plants with tender leaves. Sow in late spring or early summer for a bountiful winter harvest, water regularly and combine with compost-rich soil for optimal growth and flavour.
View productOrganic vegetable fertilizer for cabbage crops
Use a slow-release, organic fertilizer specifically for brassicas to stimulate growth without over-fertilizing. Sprinkle the fertilizer when planting out, work lightly into the soil and repeat mid-season for strong, dark green leaves and a healthy yield in the Dutch climate.
View productInsect mesh against cabbage fly and caterpillars
Protect young kale plants with fine insect netting to prevent damage from cabbage fly, caterpillars and other pest insects. Immediately after planting, stretch the mesh over brackets so that there is sufficient space for growth, air circulation and easy access for care and watering.
View productRecipe inspiration

Sausage & leek mash pie
Enjoy sausages and kale with a cheesy mash topping made with leeks and mustard. You can freeze this pie for busy weeknights when you need to feed a crowd
View recipe
Sausage, kale & gnocchi one-pot
Plate up this delicious one-pot of sausage, kale and gnocchi in just 20 minutes, with just five minutes prep. Midweek suppers never got so easy – or tasty!
View recipe
Easy-to-scale cheesy fish pie with kale
Double the ingredients in this easy fish pie if you need to feed four, or quadruple for eight. This comforting dinner is perfect for midweek, and adaptable for any situation
View recipe