Beets
Learn how to grow sweet and firm beets with the right techniques for a bountiful harvest.
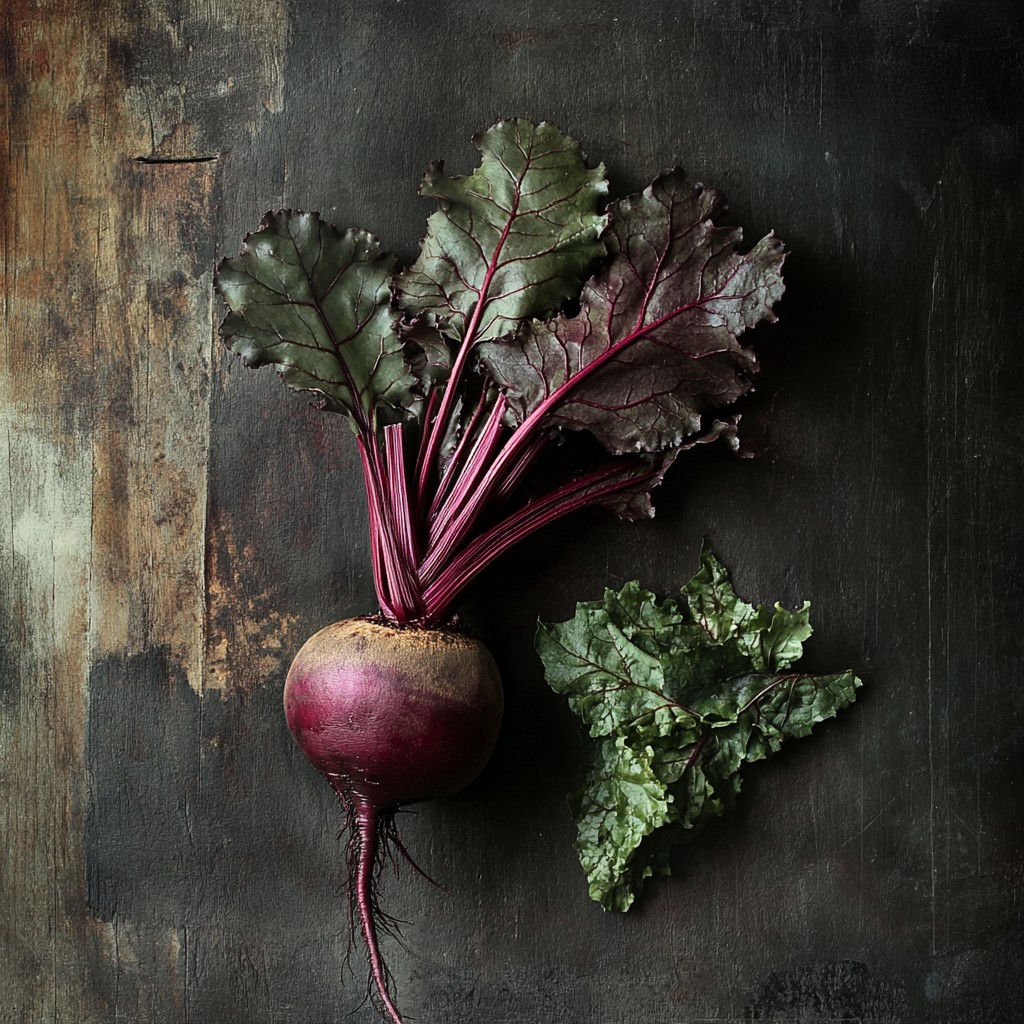
Red beets are a valuable vegetable for the Dutch kitchen garden: they like loose, nutritious soil and a sunny spot. By sowing in April or May and watering regularly, you will develop firm tubers with a full, sweet taste. Keep the soil moist but not wet and remove weeds in a timely manner. After about three months you can enjoy a rich harvest full of colour and flavour.
Preparation and cultivation
Soil preparation for strong beets
Start by loosening the soil to at least 10 inches deep to allow the beet roots to develop properly. Mix some well-decomposed compost into the soil to improve its structure and add nutrients. Avoid fresh manure as it can cause the roots to branch. Check the pH value; Beets grow best in slightly acidic to neutral soil. Flatten the soil and remove stones or clods so that the young plants can grow evenly.
Sowing and germination in spring
Sow beets in April or May as soon as the soil has warmed up sufficiently, preferably at a temperature above 10 degrees. Draw shallow trenches about two centimeters deep and keep a distance of about 25 centimeters between the rows. Place the seeds a few centimeters apart and cover them lightly with soil. Keep the soil moist but not soggy to prevent mold. The first seedlings will appear after one to two weeks, depending on the temperature.
Transplant and care for young plants
When the beet plants are a few centimeters high, thin them out so that there is about ten centimeters of space between each plant. You can possibly plant the removed young beets elsewhere. Water regularly, especially during drought, to prevent cracks in the tubers. Keep the bed weed-free so that the young plants get enough light and air. A thin layer of mulch helps retain moisture and ensure even growth.
Planting and care
When to plant beets
As soon as the young beet plants have three to four leaves and the risk of night frost has passed, they can be planted outside. Choose a sunny spot with airy, humus-rich soil and maintain a planting distance of about ten centimeters. Don't plant them too deep so that the tuber can form properly. Water immediately after planting out and keep the soil moist for the first few weeks to stimulate root growth. This gives the beets a solid start in the open ground.
Care during growth
Beets require little maintenance, but regular attention ensures a better harvest. Keep the soil free of weeds and water during drought, especially in the first growth phase. A mulch layer of straw or compost helps retain moisture and prevents dehydration. Check for snail damage and remove affected leaves. By lightly earthing the plants occasionally, the tubers remain nice and round and firm.
Fertilization and healthy growth
Preferably use organic fertilizers or well-decomposed compost to keep the soil nutritious. Too much nitrogen produces many leaves but small tubers, so dose in moderation. Light fertilization mid-season with potassium- or phosphorus-rich fertilizer promotes tuber formation. It is better to give small amounts of water more often than a lot every now and then to prevent cracks in the beets. This way they remain tender and full of flavour until harvest.
Harvest and store
The right time to harvest
Beets are ready to harvest when the tubers are about two inches in diameter and feel firm. In dry weather, carefully pull them out of the ground so that the skin is not damaged. Leave the foliage a few centimeters to prevent juice loss. Do not harvest too late, because older beets become fibrous and lose their sweet taste. In the Dutch late summer it is ideal to harvest in stages, so that you can always use fresh beets in the kitchen.
Storing beets after harvest
After harvesting, you can store beets for a few days in a cool, dark place. For longer storage, cut the foliage up to two centimeters above the tuber and place the beets in a box with slightly moist sand or peat. Store them in a frost-free shed or cellar with a temperature around 2 to 5 degrees. Check regularly for rotten specimens and remove them immediately. This way your beets will remain firm and tasty well into the winter.
Preserve and freeze beets
If you want to enjoy the harvest longer, you can can or freeze beets. First boil the beets until tender, remove the peel and cut them into slices or cubes. For preserving, use a mixture of vinegar, water and herbs to taste. Before freezing, let the beets cool thoroughly and pack them airtight in portions. They keep well in the freezer for up to a year. This way you always have a supply of healthy, home-grown beets at hand for salads, stews or soups.
Dutch practice: Beets
Monthly planning for Dutch conditions
Plan beets based on Dutch seasons and not on general international schedules. In most regions, soil development starts from February or March, with planting out after the last chance of night frost around mid-May. In coastal areas, the soil often warms up later due to wind, while sandy soils warm up faster than clay. Work with a fixed weekly check per month: soil temperature, precipitation, disease pressure and growth rate. This way you steer based on the real Dutch weather instead of just a calendar date.
Soil choice in the Netherlands: clay, sand and peat
Soil management in the Netherlands is decisive for Bieten. On clay, structural improvement with compost and mulch helps to prevent silting. In sandy soils, moisture retention is the priority with organic matter and gentle, deeper watering. On peat soil you pay extra attention to nutritional deficiencies and a stable pH. Choose one approach per bed and evaluate it after each rainy period, because Dutch showers can cause a lot of leaching or waterlogging in a short time. By making soil choices explicit, the chance of success visibly increases.
Limiting weather risks in practice
In the Netherlands, prolonged rain, sudden temperature changes and snail pressure are the most common risks. Therefore, work preventively: sufficient plant distance for air circulation, water at the base instead of over the leaves, and a quick inspection round after wet days. When in doubt, stick to a simple decision rule: first drainage and air, then nutrition, and only then action against pests. This prevents overcorrection and makes beets more consistent throughout the season, even in changeable years.
Fine-mesh seed tray for beets
A sturdy seed tray with fine divisions helps to distribute beet seeds evenly and prevents young plants from growing too close together. Ideal for use in April or May, so that germination in the Dutch spring is optimal and the young plants emerge strong and healthy.
View productOrganic beet fertilizer with potassium
This natural fertilizer supports the development of firm tubers and a sweet taste. The extra potassium promotes sugar build-up in the beet and ensures healthy growth without excessive leaf formation. Suitable for use in open ground or raised containers, also in crop rotation.
View productBreathable jute harvest bags
Jute bags are perfect for storing harvested beets in a cool and dark place. They allow air to pass through, which prevents the tubers from molding and retains their firmness. Handy for storage in a shed or cellar during autumn and winter, so that the harvest lasts longer.
View productRecipe inspiration

Roasted cod with zingy beetroot salad
Make the most of the colour and flavour of beetroot with our easy roasted cod served on a beetroot, new potato and carrot salad with a lovely zingy dressing
View recipe
Warm mackerel & beetroot salad
A simple but flavoursome salad that's easily made for two or more people
View recipe
Feta & beetroot salad
Contrasting flavours make a great base for a side salad - team with herbs, spices and a honey mustard dressing
View recipe