Planting potatoes in the kitchen garden
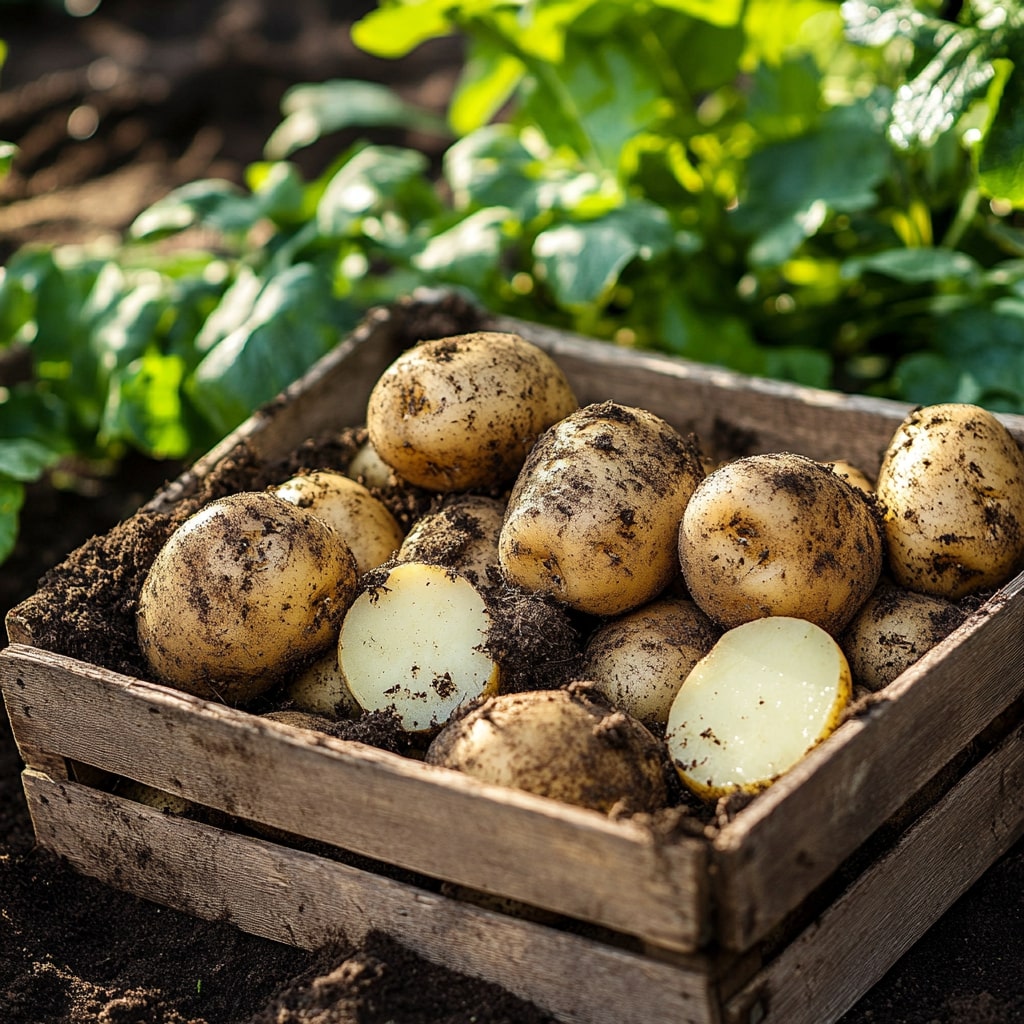
Delicious potatoes from our own garden
Find out how, with the right growing methods and care, you can grow hearty and tasty potatoes for every meal. By paying attention to the right soil type, fertilization and watering, you can ensure that your potatoes are healthy and full of flavour. It is important to know when and how to plant, how to care for the plants during their growth period and how to maximize harvest.
Soil preparation and sowing
Digging soil
Provide well-loosened soil enriched with organic matter. This helps with drainage and ensures that the roots can develop properly. Organic matter such as compost or well-decomposed manure adds nutrients to the soil, which promotes potato growth. Good soil structure also prevents the tubers from rotting due to excess water.
Select healthy tubers
Choose firm potato tubers as a starting point for your harvest. Make sure the tubers show no signs of disease or damage. Healthy tubers are essential for a good start and will result in a stronger plant and a better harvest. If necessary, let the tubers germinate for a few days in a bright spot before planting them.
Plant at the correct depth
Plant the tubers at the correct depth with sufficient spacing. A planting depth of about 10-15 cm is ideal, with a spacing of 30-40 cm between the tubers. This ensures that the plants have enough space to develop and prevents competition for water and nutrients. The right planting pattern also helps control weeds.
Maintenance
Watering
Water regularly, especially during dry periods. Potatoes need a constant supply of moisture to grow properly. Make sure the soil remains moist, but not soggy, to avoid fungal problems. During the flowering period it is extra important to provide sufficient water, because the tubers are then forming.
Hoping on
Cultivate the soil around the plants to protect tubers. This process, also called ridging, helps protect the tubers from sunlight, which can lead to greening and toxicity. Earthing up also ensures that the tubers grow better and prevents them from being exposed to unfavorable weather conditions.
Pest control
Check for pest insects and remove weeds. Regular inspection of your potato plants can help you detect and combat insect pests such as the Colorado potato beetle at an early stage. Removing weeds prevents them from competing with your potatoes for water and nutrients. If necessary, use organic pesticides to control pests.
Harvesting, storage and final tip
Harvest on leaf wilt
Harvest the potatoes when the leaves begin to wilt. This is a sign that the tubers are mature and ready to be harvested. Wait until the leaves have completely died back for best harvest results. Harvesting at the right time ensures that the tubers have reached their maximum size and taste.
Excavate carefully
Use a shovel to gently loosen the potatoes. Dig carefully around the plants so as not to damage the tubers. A fork or special potato scoop can also be useful to remove the potatoes from the ground without damaging them. Be sure to remove all tubers from the ground to prevent them from rotting and causing disease.
Keep cool
Store the potatoes in a cool, dark place. Ideally at a temperature of about 4-10 degrees Celsius. Make sure the storage area is well ventilated to prevent mold and rot. Do not store the potatoes near fruits such as apples, as this can cause the potatoes to spoil more quickly.
Dutch practice: Planting potatoes in the kitchen garden
Monthly planning for Dutch conditions
Plan Planting potatoes in the kitchen garden based on Dutch seasons and not on general international schedules. In most regions, soil development starts from February or March, with planting out after the last chance of night frost around mid-May. In coastal areas, the soil often warms up later due to wind, while sandy soils warm up faster than clay. Work with a fixed weekly check per month: soil temperature, precipitation, disease pressure and growth rate. This way you steer based on the real Dutch weather instead of just a calendar date.
Soil choice in the Netherlands: clay, sand and peat
Soil management is decisive for planting potatoes in the kitchen garden in the Netherlands. On clay, structural improvement with compost and mulch helps to prevent silting. In sandy soils, moisture retention is the priority with organic matter and gentle, deeper watering. On peat soil you pay extra attention to nutritional deficiencies and a stable pH. Choose one approach per bed and evaluate it after each rainy period, because Dutch showers can cause a lot of leaching or waterlogging in a short time. By making soil choices explicit, the chance of success visibly increases.
Limiting weather risks in practice
In the Netherlands, prolonged rain, sudden temperature changes and snail pressure are the most common risks. Therefore, work preventively: sufficient plant distance for air circulation, water at the base instead of over the leaves, and a quick inspection round after wet days. When in doubt, stick to a simple decision rule: first drainage and air, then nutrition, and only then action against pests. This prevents overcorrection and makes planting potatoes in the kitchen garden more consistent throughout the season, even in changeable years.
Potato manure
Organic fertilizer that stimulates potato growth. Use fertilizers rich in potassium and phosphorus to promote tuber development. Avoid too much nitrogen as this can stimulate leaf growth at the expense of tuber development. Regular fertilization throughout the growing season helps maintain healthy and productive crop growth.
View productPotato kit
Complete set for growing potatoes. This set contains everything you need, from seeds to fertilizers and tools. It provides a convenient solution for both novice and experienced gardeners to successfully grow potatoes. With the right supplies at your fingertips, growing potatoes becomes an enjoyable and rewarding experience.
View productGarden tools
Essential tool for digging up potatoes. Use a sturdy shovel or fork to remove the tubers from the ground without damage. Specially designed potato scoops can also help make harvesting easier and more efficient. The right tools ensure that your potatoes remain intact and ready for storage or immediate use.
View productRecipe inspiration

Potato gnocchi
Master fluffy, pillowy gnocchi tossed in a light cheesy sauce. Gnocchi can be a difficult recipe to get right but we'll help you avoid the pitfalls
View recipe
Sweet potato gnocchi with tomato sauce
Try this tasty gnocchi made with both sweet potatoes and white potatoes. The sweet potatoes count towards your five-a-day, as does the accompanying tomato sauce
View recipe
Homemade potato gnocchi
Make this classic Italian-style gnocchi and tomato recipe for a satisfying midweek meal. These potato dumplings are worth making from scratch and take minutes to cook
View recipe